Four tips to ensure great internal hotel room photos
You want (or maybe need) to be showing off your hotel rooms in their best light. It’s where your customers are going to be spending a lot of time and if they’ve been traveling, they want to stay somewhere relaxing, tidy and clean. Or maybe not? Maybe your hotel is grunge themed, either way, you need to present it well and make sure the hotel room photos leap out of the screen or brochure.
Here’s how you can make that happen.
Make your hotel room look big – shoot into the corner
 This is a simple one, but so effective.
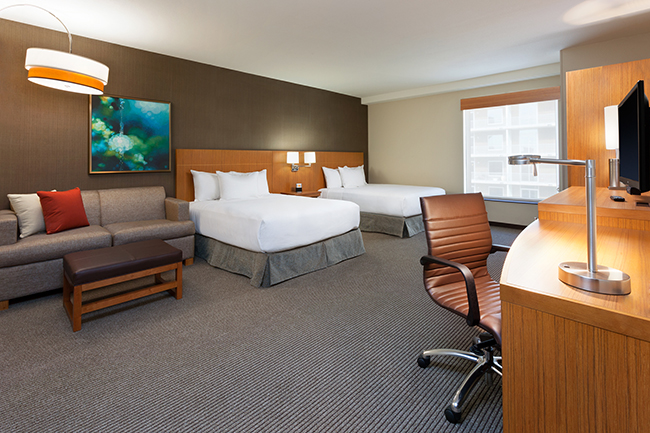
I’ve seen many photographs taken from the doorway of a room with people thinking it’s ideal to get the most in the shot, however that ends up usually taking a picture of a big wall. If you get in the room and shoot into a corner if will give the room more depth and also focus the eye.
Use a wide lens to get an even better effect. This also minimises any distortion as sometimes your lens can give a room an odd shape.
Remove furniture if you need to
Many rooms have a lot of furniture. That’s OK if you’ve got a lot of people staying or they need a desk for a computer, but when you’re taking a photo then it might be best to clear it out. You only really need to show one chair for example, so if you have lots of identical ones, take them out. Also, clear the tables of clutter and give them a good clean.
Use natural lighting if possible
OK, let’s be honest, you may have some rooms that are hidden at the back of the hotel with very few windows and which look over the escape corridor. OK, don’t photograph that one! Instead, take a photo in one of the better rooms that has a lot of natural light when you open the curtains. Natural light is always preferable to artificial, although don’t be afraid to use a flash if you need to.
What you might find (and this depends largely on the type of furniture you have) that if you turn on all the lights it will highlight areas of interest and cast some great looking shadows. You can then selectively turn them off to get the best effect possible.
Prepare for later – shoot “RAW”
This is probably one for the professionals really, but if you have a camera that is capable (most cameras, even entry-level), shoot in RAW mode which captures far more information. Most cameras are set to JPEG which is a format that compresses and therefore loses some of the detail. It does this to save space on your memory card, but cards are cheap so get a large one and use RAW mode.
When you get to editing you will have some photo editing software with your camera hopefully, so use or even PhotoShop (the king of all photo editing software).
Any more?
There are loads of tips we could give but we’ll save those for another post. In the meantime, why not let us have your tips in the comments below?