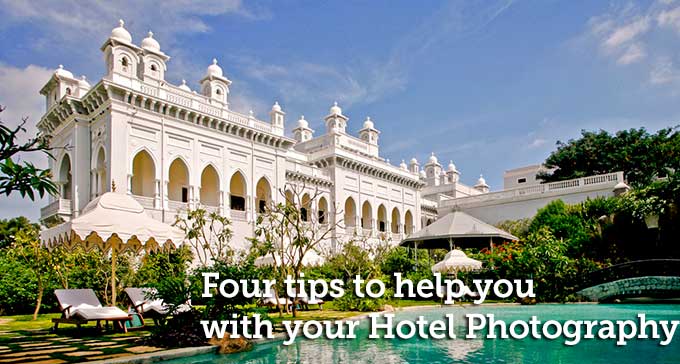
Doing your own hotel photography? Here are a few worthwhile tips
I was recently helping one of our photographers on a hotel photography shoot in some rather nice weather in India and like the friend he is, he let me take some photographs with my own camera to see if I could match his masterpieces.
Full disclosure, I just write the blog here and pass tips on to you, I’m not the jobbing photographer so getting the chance to do this was great for me, and I got to learn some great tips into the bargain.
It’s incredible what you learn when you’re working with the consummate professional and so before we go any further, here’s tip number one:
1) Try to spend a day with a professional, someone who earns a crust doing photography, not someone who simply does it as a side-line or to bolster their pay packet.
It’s amazing what you’ll pick up in just a few hours working with someone like this but you’ll probably have to ask them to slow down a bit! Also, get them to be critical of your style and the photos you take because you want to learn and if they’re really nice about it all, even though your results are sub-optimal, you won’t get the best from them.
And I got the best. In fact, the first tip I learned was this:
2) Switch to RAW if your camera has it. It might be a bit slower getting your photos off the camera back home, but you can do more with the images later.
My pictures were burnt out due to the amount of light on this incredibly sunny day and when in jpg format, I could do nothing with them. Very quickly I switched to RAW but the results only really manifested themselves later when I got to the hotel and fired up Photoshop.
And so to the next tip which was also a bit of a revelation for me. This was to do with “ISO”:
3) Switch to a low ISO, say 100 in bright sunlight.
Now I remembered ISO from film days when it was the sensitivity of the film to light. Fair enough, why does that matter for digital? Well it seems it does pretty much the same thing. Set your ISO low on a bright day and you’ll have less work to do in Photoshop later as everything won’t be so photon-tastic.
Something to bear in mind here is the “Base ISO” of your camera. The best quality will come at the lower levels of ISO, however some cameras don’t do too well right down that low, so check with your manual.
Also, you’ll need a lot of light for the lower ISO levels but if you have it then you’ll get the best quality finish.
And so finally, the next tip which is one that all photographers keep banging on about:
4) Use a tripod!
Seriously, tripods are an absolute godsend and they will improve your shots immeasurably simply because you can have more control over the exposure without worrying about wobble – and believe me, you will wobble!